Christian Stoll 2021
Preliminary considerations for the creation of instructional videos
With regard to the use of videos in courses, two different approaches can be fundamentally distinguished. On the one hand, I can create videos as a teacher to support my teaching and to design learning processes. On the other hand, the creation of videos can be used as a didactic method in which learners create videos themselves.
If I want to create teaching videos myself, I first think about the following points (based on the didactic analysis according to Klafki (1962)):
Aim of the video
The first question to ask is what content or topics should the video cover? What is the goal of the video? Is it to sensitize the learners to a certain topic? Should it help to solve a certain problem? Is it intended to teach certain activities/procedures? Is it intended to support a certain competence development? Should case studies be shown, which are to be evaluated by the learners?
Timeliness
Care should be taken to present content in videos that does not become outdated after a short period of time, i.e. that retains its validity over as long a period of time as possible.
Direct applicability
In addition, content that can be directly implemented by learners is suitable, e.g. tutorial videos that explain a certain software, illustrate certain work steps or solve concrete problems.
Present meaning/future meaning
In this context, it is advisable to have a certain relevance for everyday life and a certain relevance for the future of the learners, i.e. to focus on content or problems that are relevant for the learners now and in the future.
Simplicity of presentation
Keep in mind for which target group the video should be intended and make sure that the content is presented in a simple, structured way.
How do effort and benefit compare?
Creating videos involves a certain amount of effort. At this point, it should be considered which content can be presented easily and quickly. The more effort is put into the video, the more care should be taken that the video also has a high benefit. Videos that can be used for a long time, i.e. that do not quickly lose their topicality and can also be used by other teachers or institutions, are very useful. After creation, care should be taken to ensure that the video is easily findable and accessible.
How do I structure the video?
- Information condensed to essential aspects,
- Clear and understandable communication,
- Emotionalization,
- Potential for identification,
- Involvement,
- Stories are better remembered than abstract information
Many explainer videos, especially for a younger audience, try to convey content through a story. People can usually remember stories and people better than abstract content. The focus is on a main character. This main character offers identification potential for the target group. At the beginning of the video, the person is introduced and his or her problem is explained. A short description of the problem in exemplary situations: How does the problem manifest itself, what is annoying, what uncertainty arises, what decision is pending? Then a specific content or topic is explained, which enables the main person to solve the problem. It is important to show why the solution is good, how does it work? Where and when else can the solution be applied? At the end follows a reaction or emotion of the main person and a short summary or a core message. This core message is the central message of the story.
Approach to the creation of educational videos
- inform
- planning
- Writing text
- Create script
- Selecting form of presentation and working method
- prepare
- create and assemble recordings
- look at result in peace and evaluate
- make necessary improvements
- publish
Informing: The first thing I do is gather all the necessary information for the content of the video.
Writing text: Next, I write a text. This text contains everything I want to say later in the video.
Create script: After that I create a script from the text, this script consists of a table with two columns. In the left column I put the text passages, in the right column I write down what I want to see in the video for each text passage.
Select the form of presentation and the way of working: At this point, I also decide on a video type (see here Types of instructional videos: An overview) or presentation method. In this context, I need to consider how much effort I want to put into the video. With videos it is like with many other things, the more time and effort you put into the production, the higher the quality can become. But you can ask the same question, how can I reduce the effort to get an adequate or for me sufficient result in a certain time. In this context, the question arises whether I want to rework the video afterwards with a video editing program or whether I want to bypass exactly that. So the legitimate question can be asked, how can the effort in post-production be kept as low as possible?
One-take principle: If I want to bypass post-processing with video editing software, I opt for the one-shot or also one-take principle. Here, you try to create the entire video in one shot without any cuts. As a rule, the recording should be practiced several times and then recorded several times, so that in the end the best recording can be selected. For example, screencasts and laying videos are suitable for the one-take principle. All I need for this is a computer or smartphone. For adequate audio quality, a simple clip-on microphone, a smartphone headset or a USB headset is sufficient.
Record audio and video separately: If I can and want to work with video editing software, it makes sense to record audio and video one after the other rather than simultaneously. Recording video and audio at the same time saves time and I get a result faster, but I can also record the video sequences first and then record the text. This allows me to concentrate more intensively on the individual elements. Afterwards, I have to edit the audio sequences together with the video sequences using video editing software. This takes some effort, but often results in a more professional overall look.
Prepare: Once I have decided on a video form and a way of working, I can now create all the materials and get the necessary technology. Afterwards, it is important to first do a test run and check whether everything works as I had imagined and whether all materials and technology are available and in working order.
Creating and assembling recordings: When creating the shots, it is important to allow enough time. It is usually necessary to take the shot several times until the result is satisfactory. Of course, post-processing also takes some time, especially if I am not yet familiar with the software in question.
Watching and evaluating the result in peace: It is also advisable to watch the video again in peace at the end before it is published, in order to check whether there are still errors somewhere or things have been forgotten.
Tips for improving the quality of instructional videos
An educational video usually consists of two elements: the video images and the audio track. It has been shown that the quality of the soundtrack is often more important to viewers than the video images, i.e. viewers can better overlook image errors or image dropouts than dropouts in the soundtrack or disturbing background noise. Therefore, I would first like to discuss how the quality of the soundtrack can be improved.
First of all, it is a good idea to record the audio track separately from the video images. This allows you to concentrate more intensively on the individual elements, which usually takes more time, but also leads to a better overall quality of the video.
First, write the text you want to voice later. Then create a script. Then create the video and check again if you need to change anything in the text or if you have forgotten things.
Then record the text. You can use audio software for this. However, often the video editing software also offers the possibility to record audio. You can then use the video editing software to edit the audio and video together.
When writing the text, keep in mind that there is a difference between texts for reading and texts that are to be read or recorded. Especially for instructional videos, you should make sure to use short sentences. Active sentences are also better than passive sentences. When writing, make sure that the content is stringent and easy to follow. Instead of covering a lot of content in one video, it would be better to divide the content into several videos.
Additional equipment

A simple way to improve the audio quality is to use an external microphone. There are different models for different needs. For good audio quality, professionals often use directional microphones attached to the camera. Such equipment is usually expensive. As an inexpensive alternative, a microphone that is placed in front of the person with a tripod or a small clip-on microphone (Lapel microphone) that is attached to clothing is recommended. Audio quality can also be significantly improved by using smartphones or commercially available office headsets ( example).
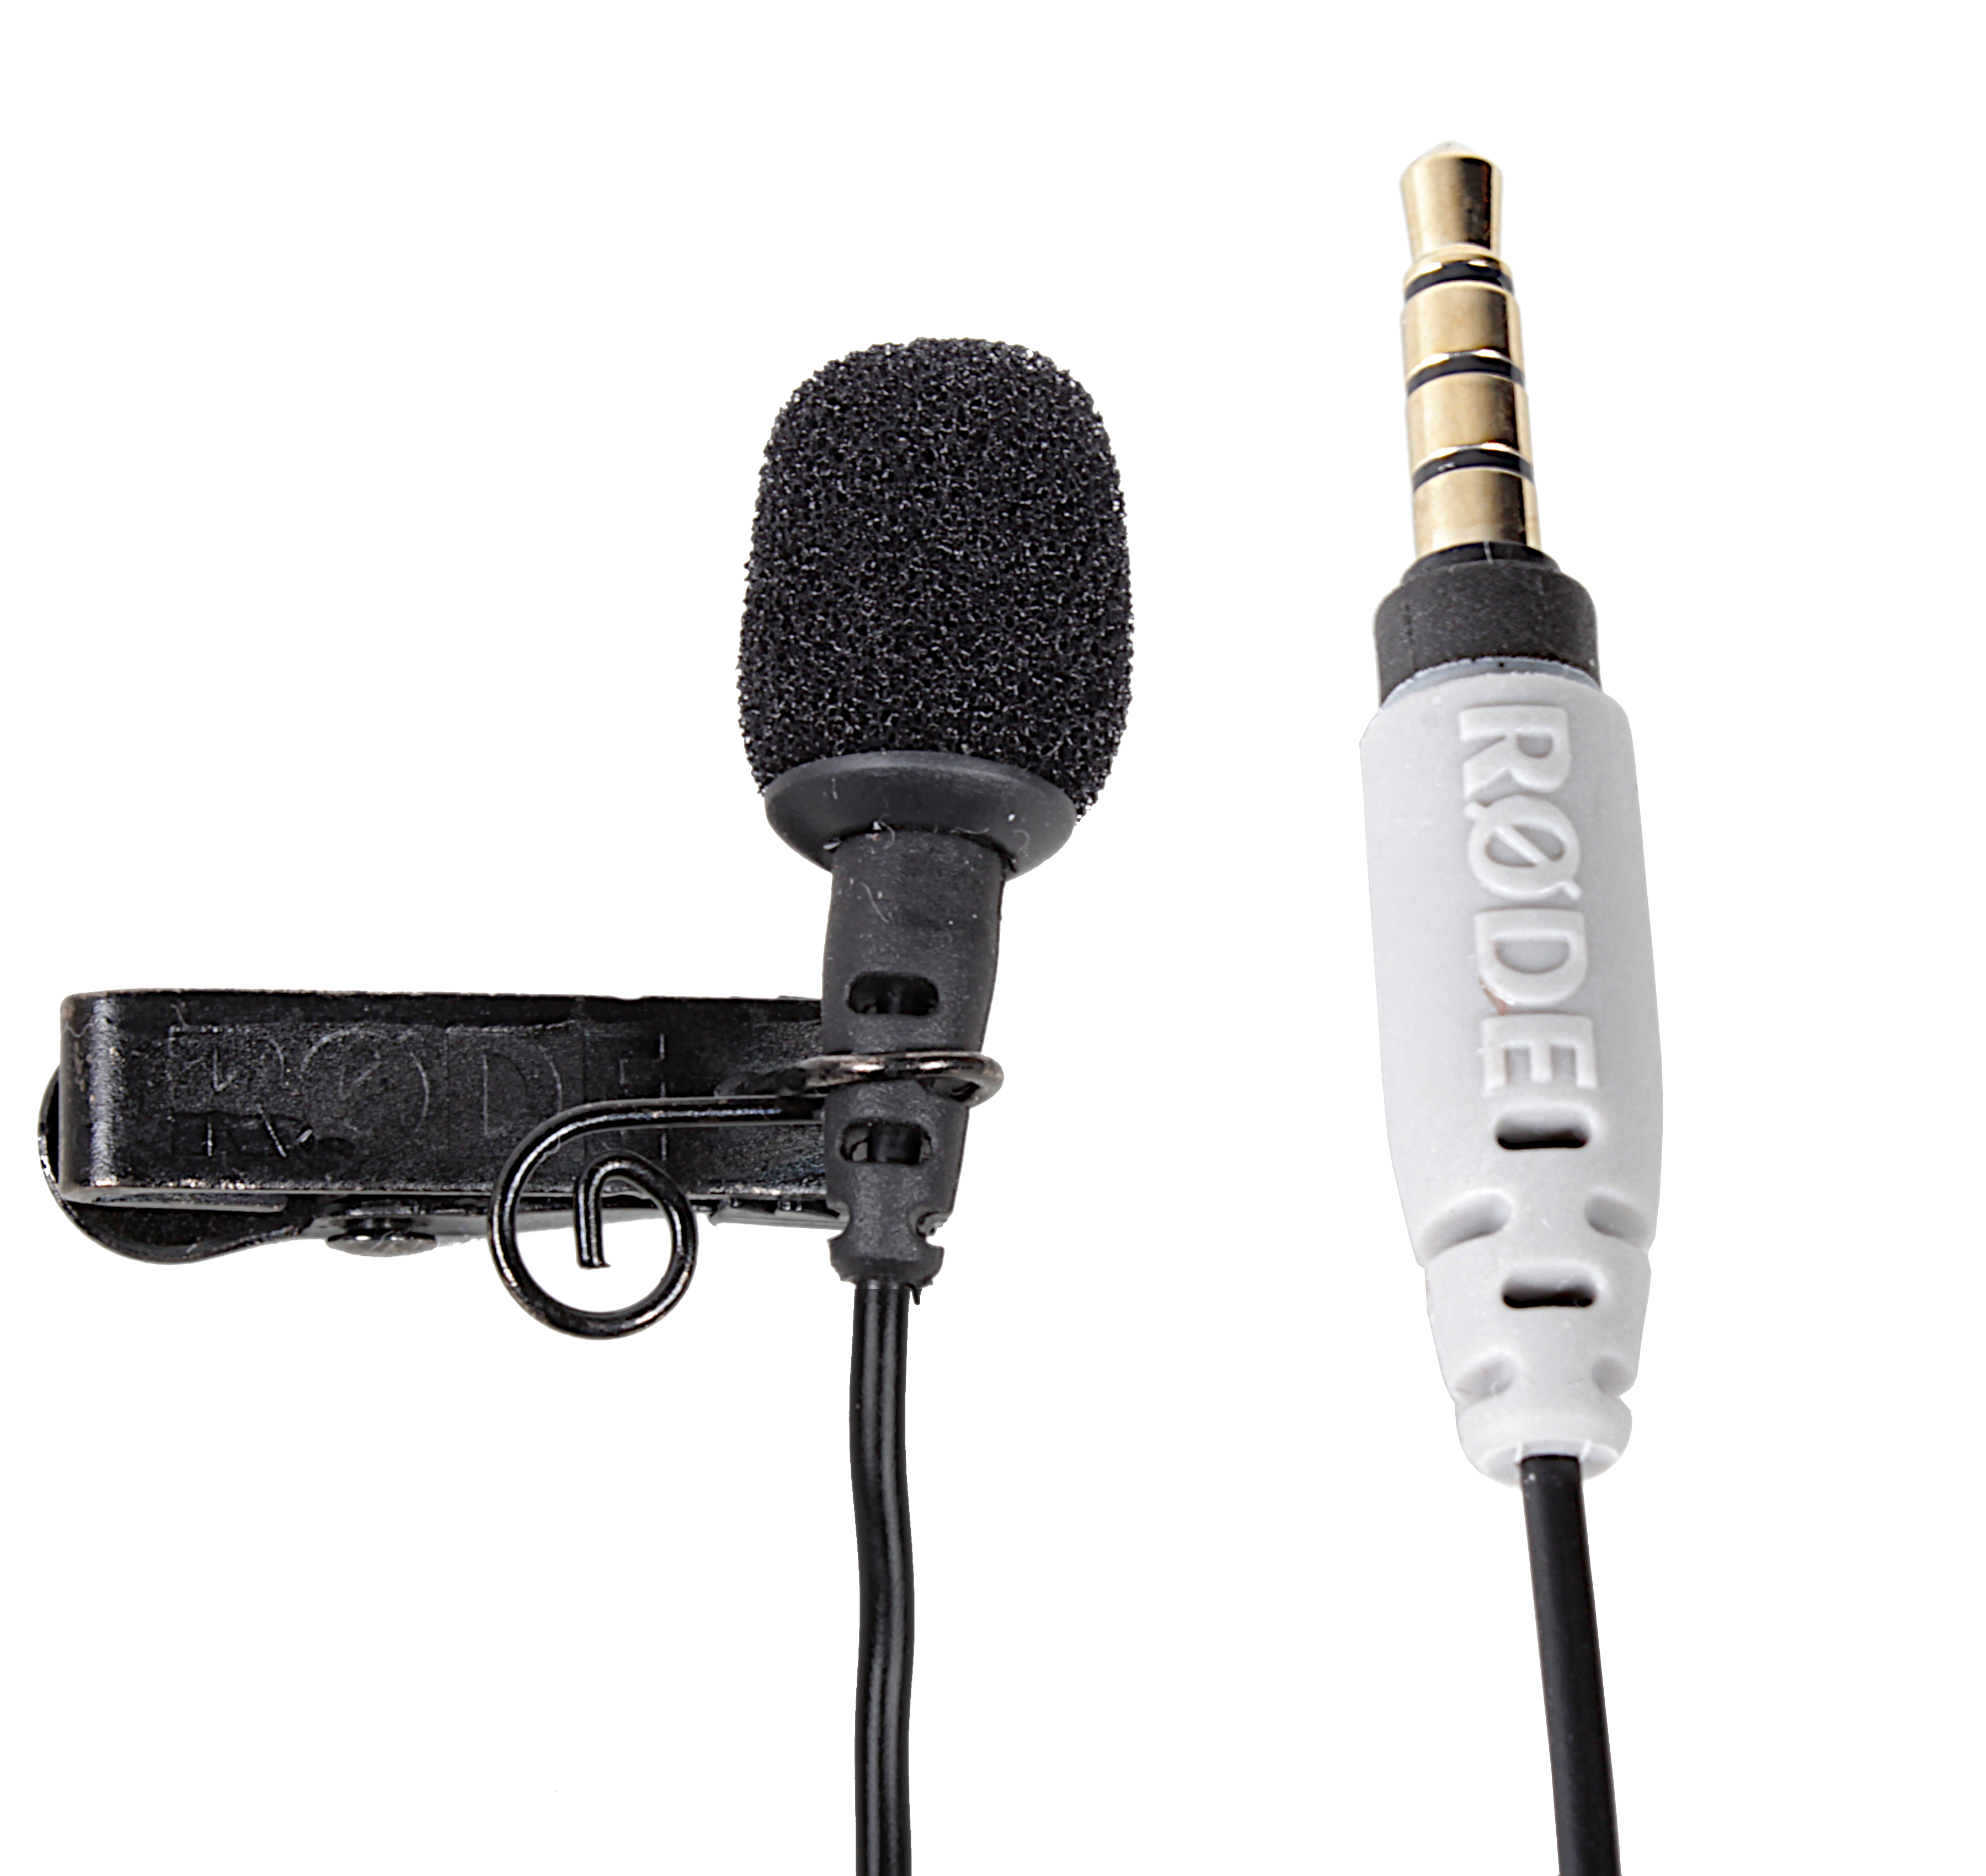
Lapel microphones are particularly suitable if you want to create videos with a smartphone or tablet and at the same time record your voice in a good quality during the video recording ( example). There are clip-on microphones that are especially suitable for smartphones. If you want to connect such a lapel microphone to a video camera or a PC, you only need a small adapter.
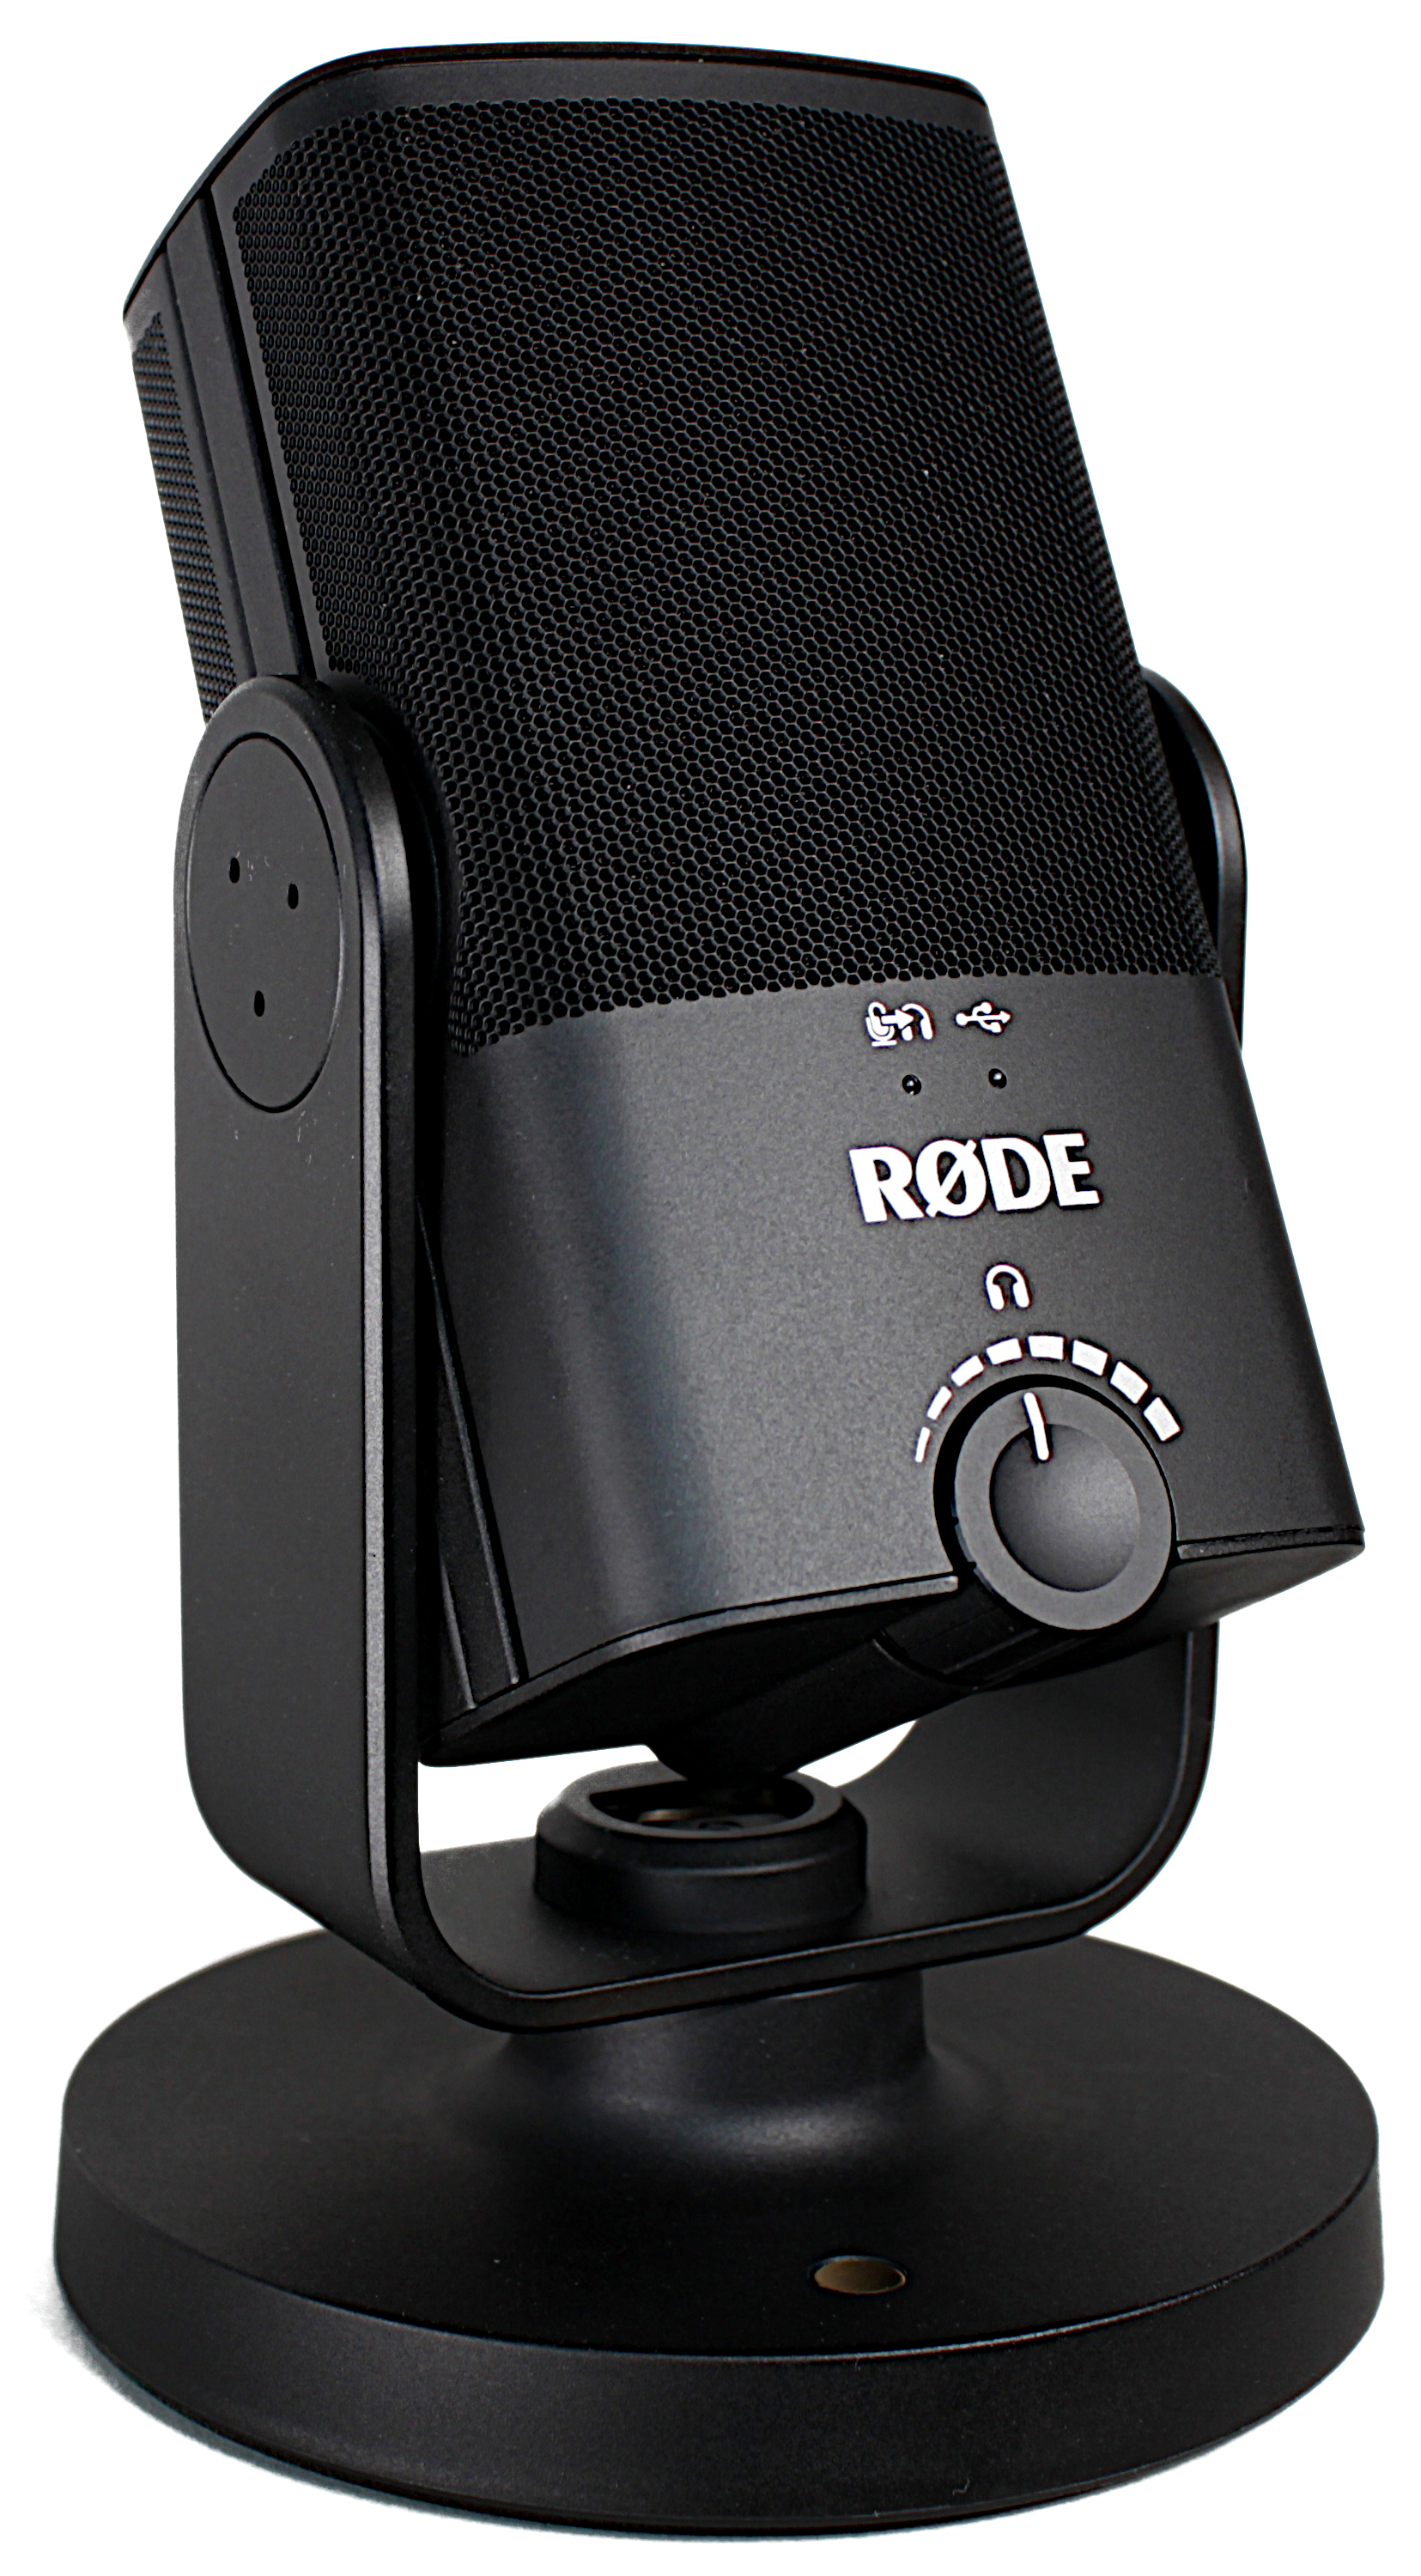
Condenser microphones are particularly suitable when recording video sequences and the audio track separately. Such microphones enable high audio quality. There are different ways to connect condenser microphones to a computer, smartphone or tablet. There are condenser microphones that first need to be connected to a so-called interface with a microphone cable. The interface is then connected to the PC or smartphone either with a USB cable or with an audio cable ( example). Some USB microphones already have small stands built in. Other microphones require extra stands.
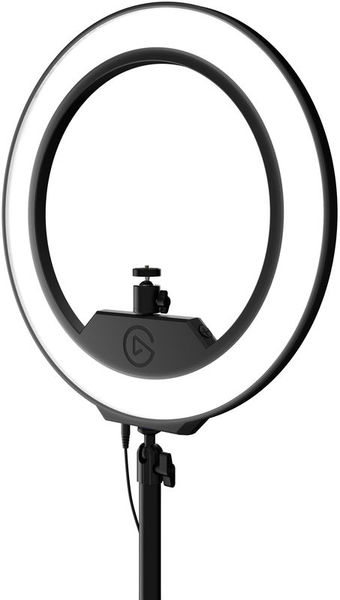
Table stands that can be attached to the tabletop with the help of a clamp are suitable for use at home (example). Similar table stands are also available for smartphones. There are also special smartphone holders that can be used to attach smartphones to common camera tripods. Some manufacturers also provide their mounts with the appropriate thread size so that they can also be attached to microphone stands.
Smartphone holders can also be attached to ringlights. Ringlight stands are used to illuminate the speaker's face accordingly (example). So these are suitable for live streams, for educational videos and video conferencing.

A smartphone gimbal is a mechanical, motorized gimbal specifically designed for smartphones (example). This suspension enables smooth, jerk-free camera movements, which can make a video look much more professional. The technique is particularly suitable when shots of machines, from a laboratory or other premises, for example, are to be integrated into the video. Especially if you want to switch back and forth between different objects, e.g. a test setup, a measuring device display, a flipchart, a smartphone gimbal enables pleasant camera pans. However, be careful with camera movements. Too fast and jerky camera movements can cause discomfort and nausea in some people, so-called motion sickness.
Post-processing the audio track with Auphonic
Auphonic is a web service designed to help podcasters improve the audio quality of their audio productions. However, Auphonic can also be used to improve an audio track from an educational video.